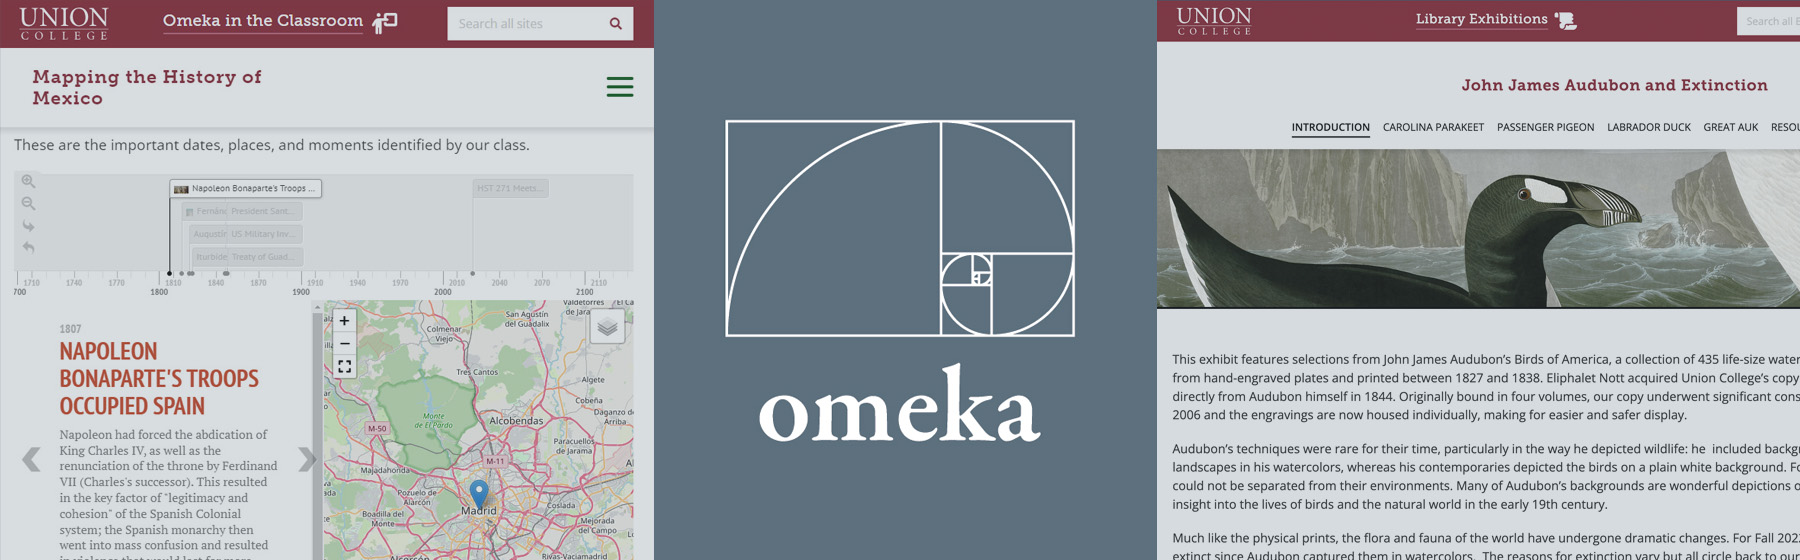
Making a Timeline
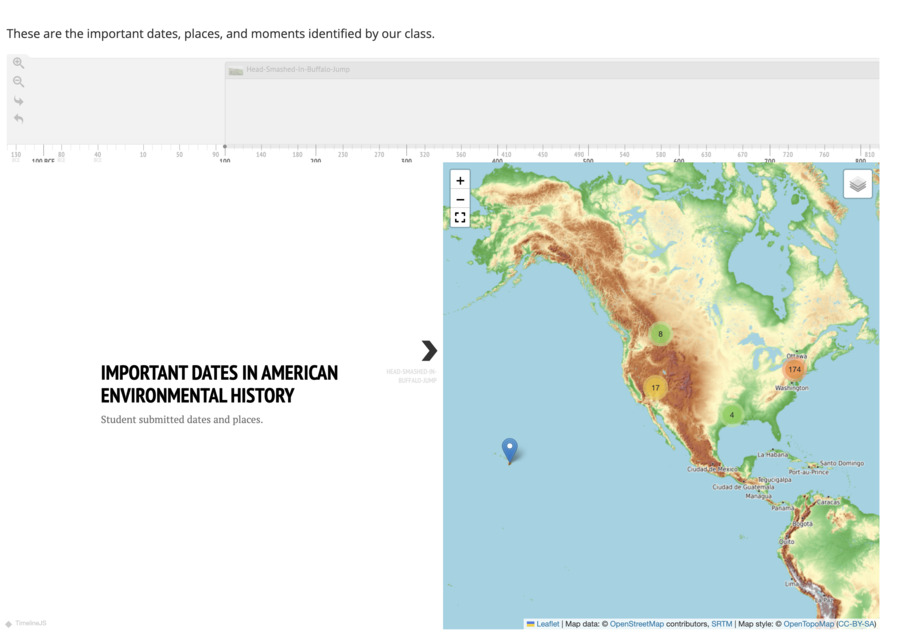
Follow these steps to ensure a working timeline on your site:
Create an Item Set
If you anticipate dozens of mapped items, make sure that each item that you want to appear on your timeline is assigned to a specific item set that you create for your site. Make sure that the lock icon is UNLOCKED.
If you are only mapping a few items, you can just manually add the items that you create and assign to your site by using the "Map by Attachements" page block.
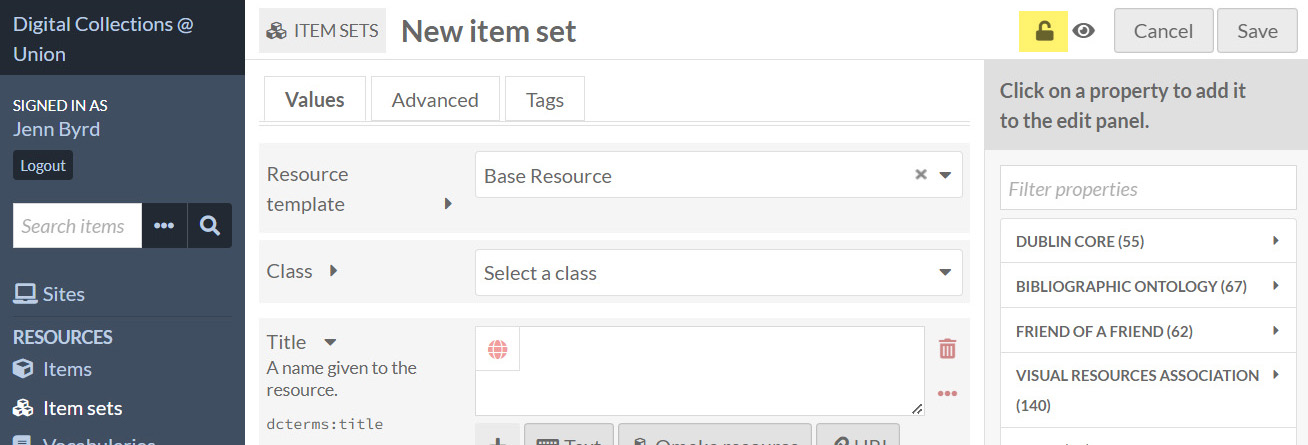
Make sure that the icon is unlocked when you create your item set.
Assign Resources to your Site
Make sure that the item set you are using for your site is selected under the Resources option of your site.
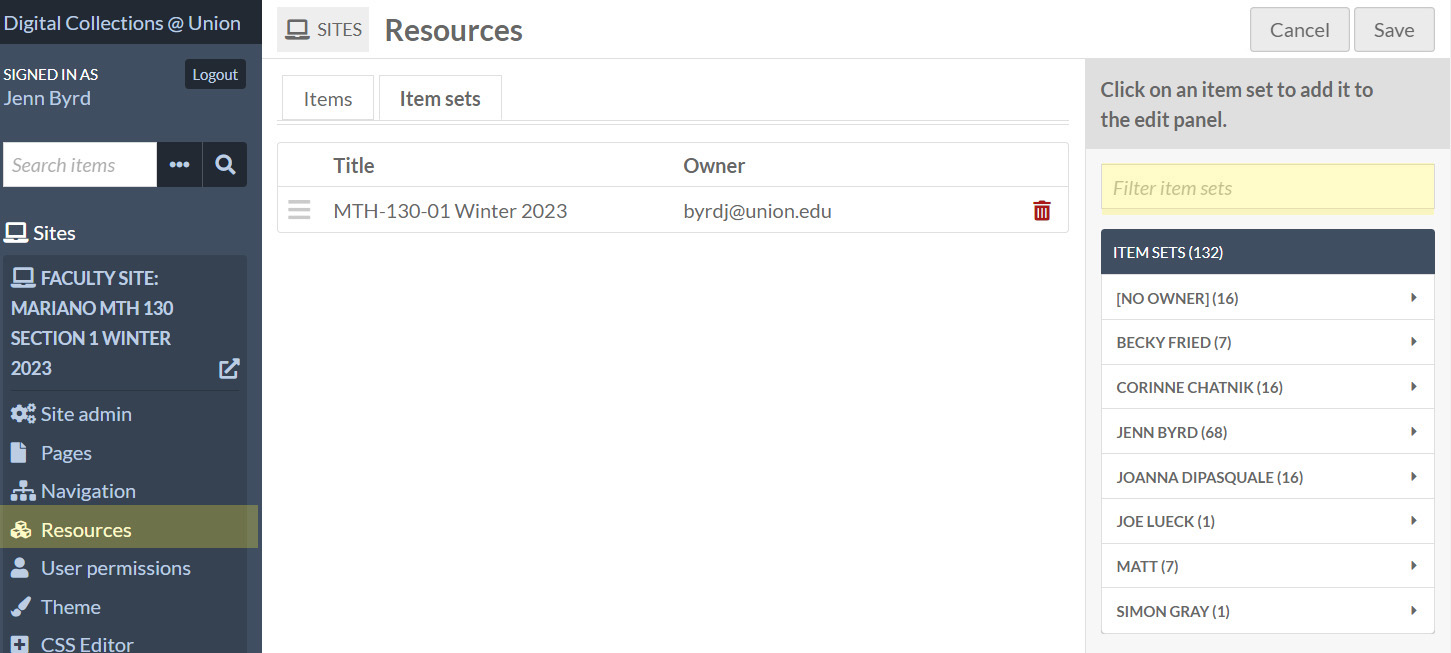
Finding your item set and assigning it to your resources.
Assign the Correct Resource Template
Make sure that item set is assigned to a resource template which contains a date field that is a numeric data type of interval or timestamp. There are a couple basic presets you can use, including "Timeline item" and "Timeline date range", which would be for a specific timestamp date and interval of time, respectively . Our Digital Services team can help you set up a new resource template if you need more information in your item besides the basic title, description and date.
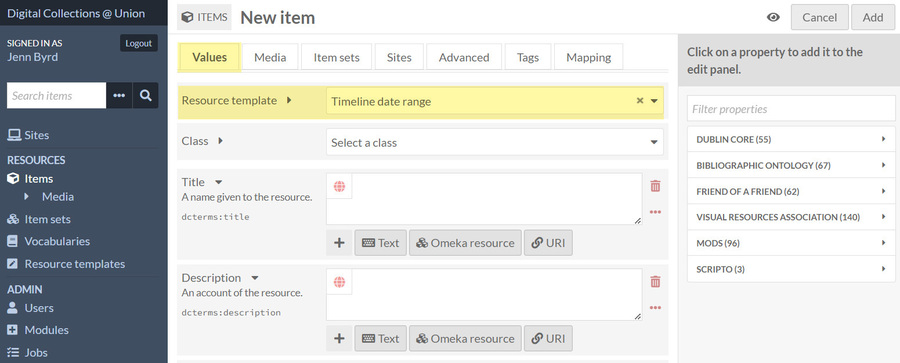
Selecting the "Timeline Daterange" Resource Template when creating a new item.
Create Items
When you add a new item, make sure that you use the dropdown to select the correct resource template, select the item set you created, and make sure that your site is selected under the sites tab. This is where you'll also add the location under the "mapping" tab, as explained below.
Having students submit items to the map:
This is when using the collecting form module will come in handy. Students will be able to just fill out a form on the website, attach an image and it can be automatically added to the map. Contact digitalcollections@union.edu for help in setting up a collecting form in your site.
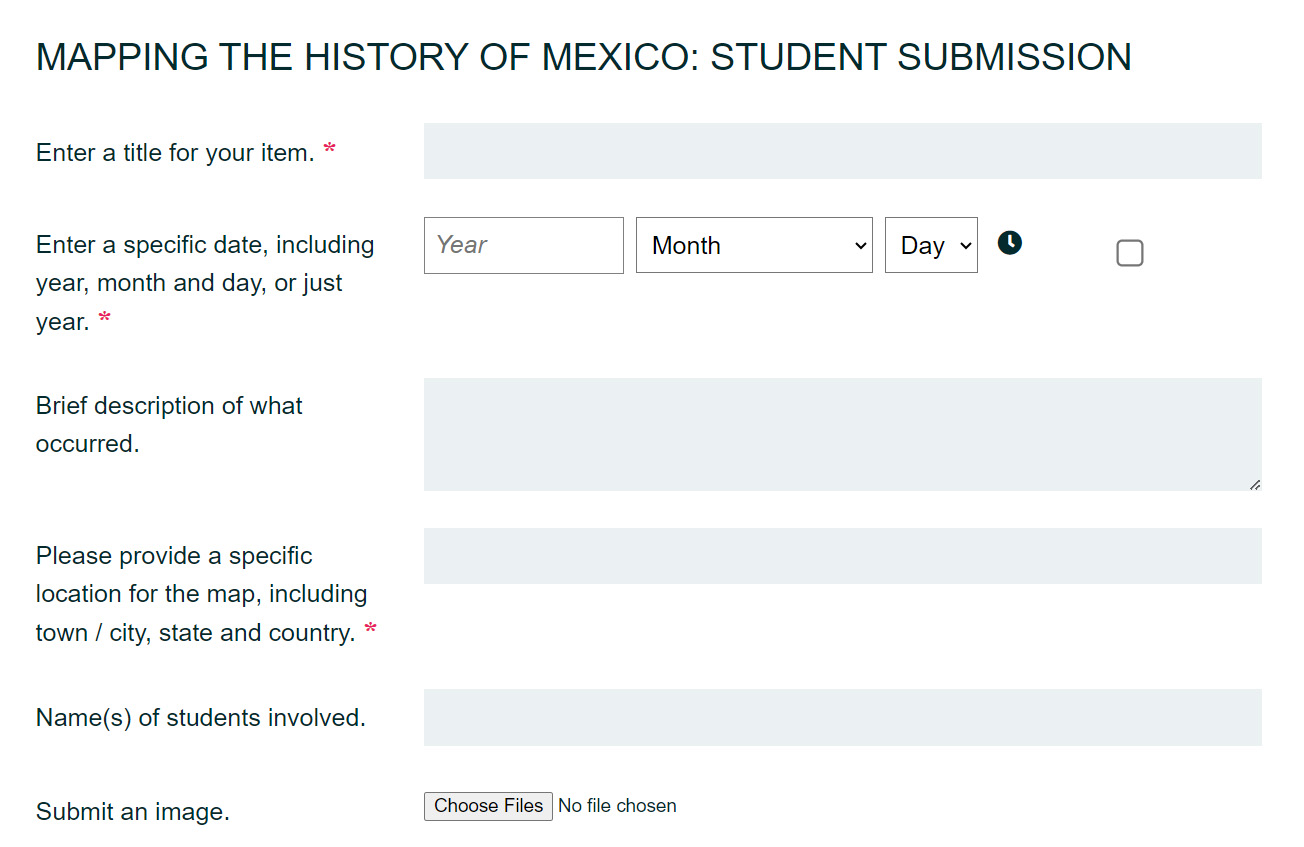
An example of a collecting form of which students can easily upload their submissions.
Add a Location to the Map
Make sure that you have added a location within the mapping tab of your item(s). Even if you don't need to show locations and just want a timeline, this current module cannot fuction unless you provide something on the map.
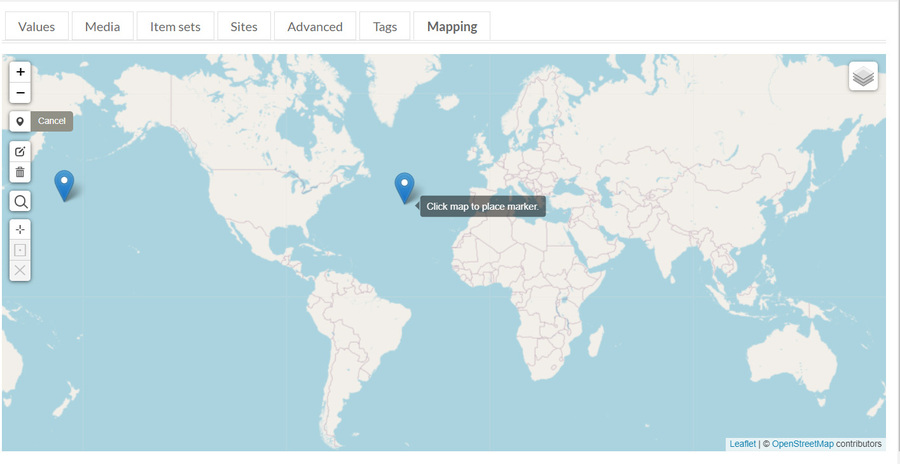
Adding a location marker on each item.
Find the Map by Query or Map by Attachments page block
Once you have checked off the above, you should then be able to create a page and use the page block "Map by attachments" or "May by query" to start using the timeline on your website. You will note several settings to choose from.
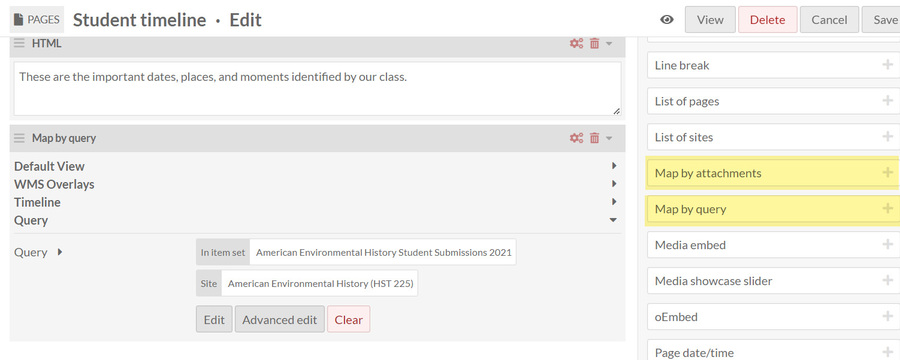
Please refer to the Timeline Settings page to learn more about what each setting does.